
|
Donkey
Kong
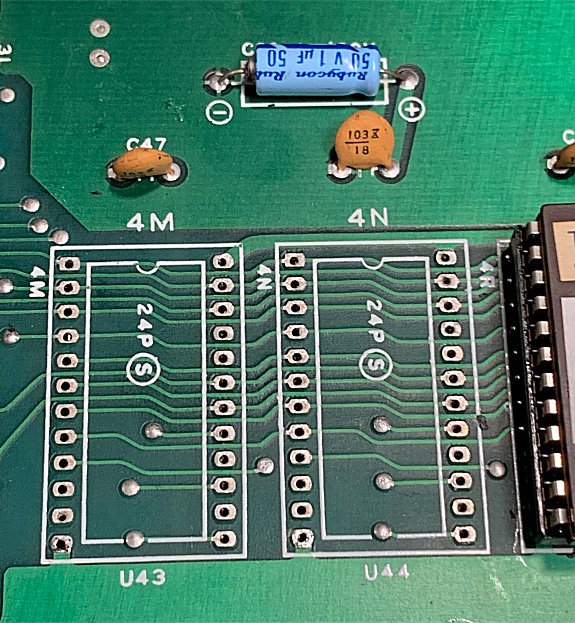
PCB's are known for their inferior quality sockets. I had been
getting graphic glitches previously and replaced the sockets for
ROM's
4R and 4R. Recently I began getting graphic glitches again so I
decided
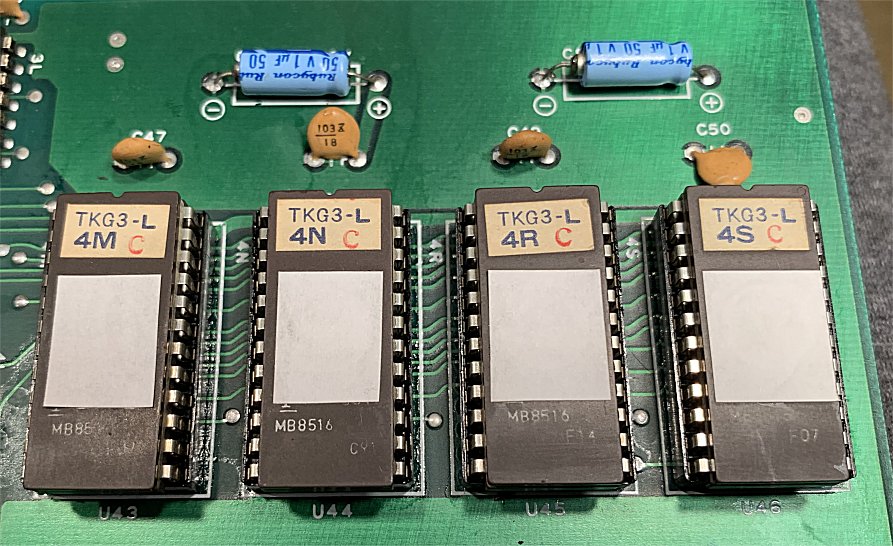
to replace the sockets for ROM's 4M and 4N. I carefully removed
the two
ROM's and set them aside.
|
|
I
removed the old sockets by cutting them into pieces which just
left
pins. I then carefully removed the pins one at a time using a
small
amount of heat. The minimal amount of heat I put on the board
lessens the risk of ruining a via or lifting a trace.
I used my Aoyue 474A+ to clean out all the vias from old solder.
If you
meticulously maintain this tool it always does a great job.
|
|
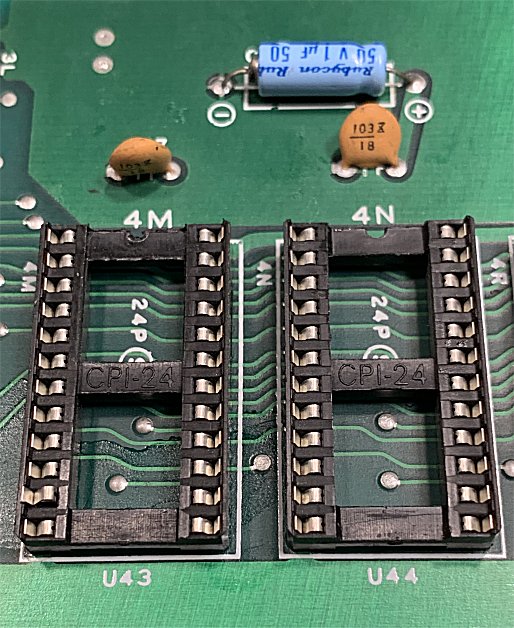
The new sockets
have been installed.
|

|
I
carefully replace the ROM's and tested the board. No more
glitches!
|
|
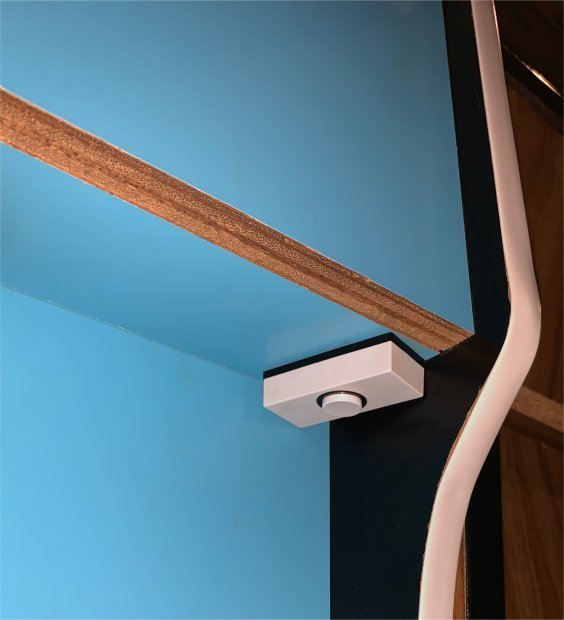
Once
I
got the game working properly I decided to return the game to its
original condition. The game is one of the earliest blue Donkey
Kong
games known so I wanted to keep it as original as possible. At one
time
someone had installed a free credit switch. Since that is not
original
to the game it had to go!
|
|
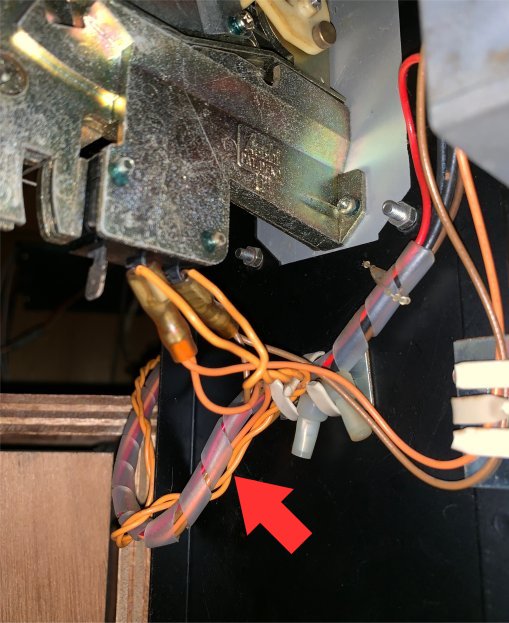
Tracing
the
wires revealed that the orange coin switch wires had been cut and
the credit button wires were spliced in. I removed the wires for
the
credit button and reconnected the orange coin switch wires as they
originally would have been. This repair also allowed for the coin
counter to function as it now advances with each quarter drop!
|
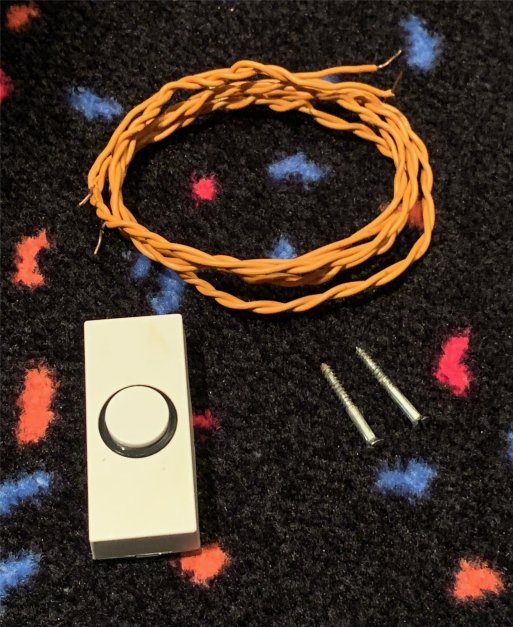 |
The
credit
button and associated wiring were removed. The game was once
again ready to accept quarters. |
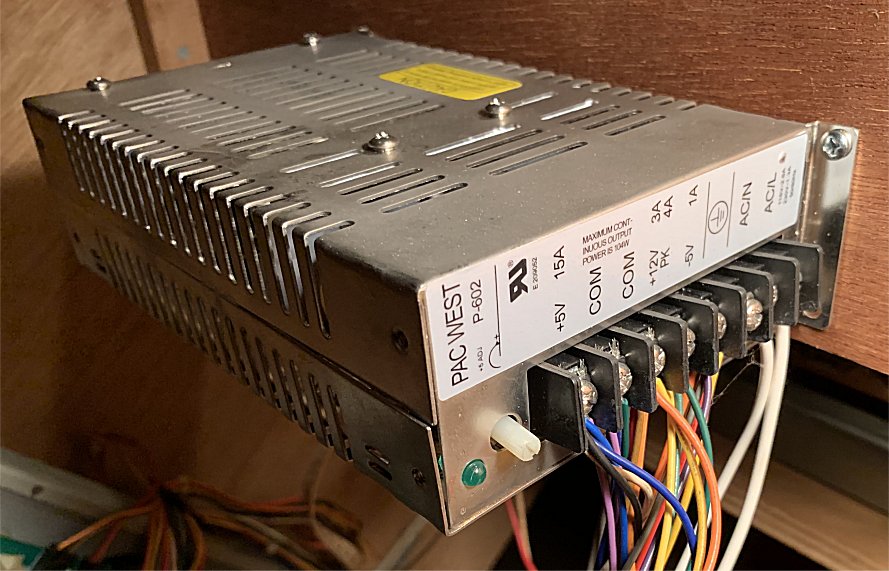 |
At one time a
switcher had been installed. In order to make the game as original
as
possible this also had to be removed. |
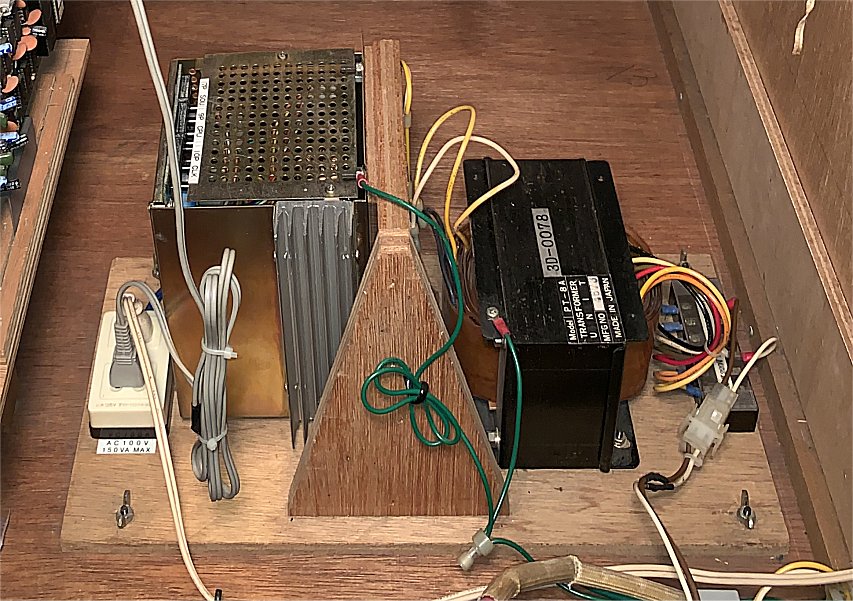 |
Luckily,
the
original Nintendo PP-7B power supply was still in the bottom of
the
game! It was disconnected but looked fairly complete. |
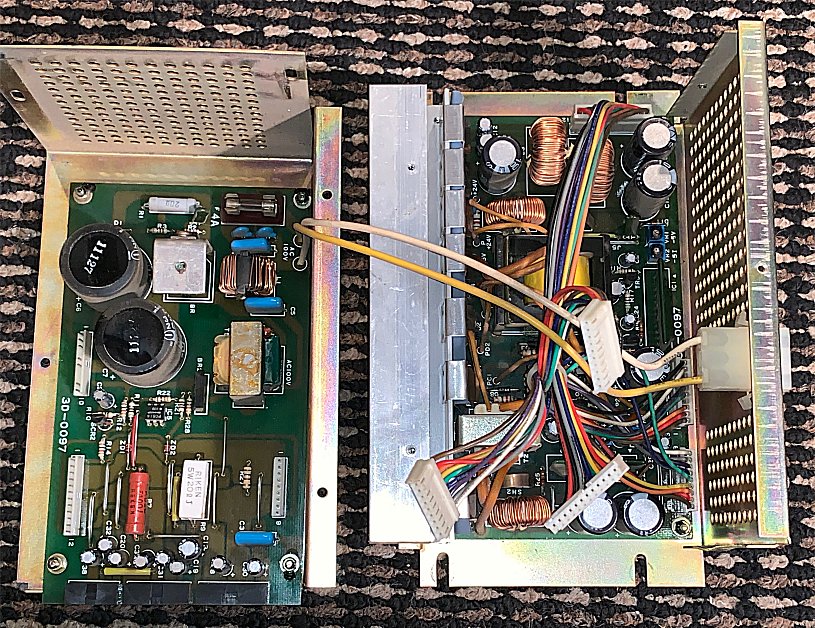 |
The
power
supply was removed from the game and opened. Everything looked
good inside. There appeared to be no damage, corrosion, swollen
caps or
anything out of the ordinary that pointed to the reason as to why
the
power supply was originally taken out of service. With the power
supply
completely disassembled I decided to install a cap kit.
|
 |
All recapped and ready to be
installed in the game! I
verified all the voltages on the power supply before
installing it and
found that they were all present and within
specification. |
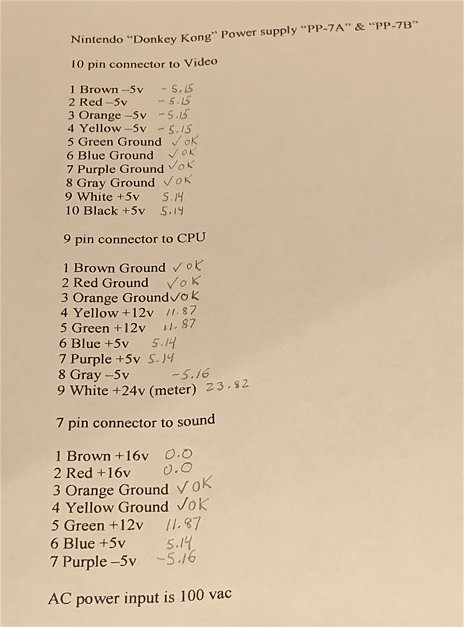 |
Listed
to
the left are what the voltages for Nintendo PP-7A and PP-7B
power
supplies should be based on the schematics. The voltages for my
power
supply, which is a PP-7B are written in pencil. NOTE My game
has an early
TKG3 four board set that has the ladder cheat but does not have
the
Nintendo Of America Inc. line. Thus, your voltages may be
different.
Also, pin one and pin two of the 7P SOU connector on the power
supply do NOT have any
voltages. This may be different for other power supplies, board
sets or
games. |
 |
Unfortunately,
when
the switcher was installed all the connectors on the cables were
cut off. Thus, I had to remake a 7P
SOU
cable, a 9P CPU cable and a 10P CLK cable. I had to add new SCH
crimp connectors to each wire and install them into a new molex. I
used
a pair of SN-01BM ratchet crimping pliers for
this
type of connector. |
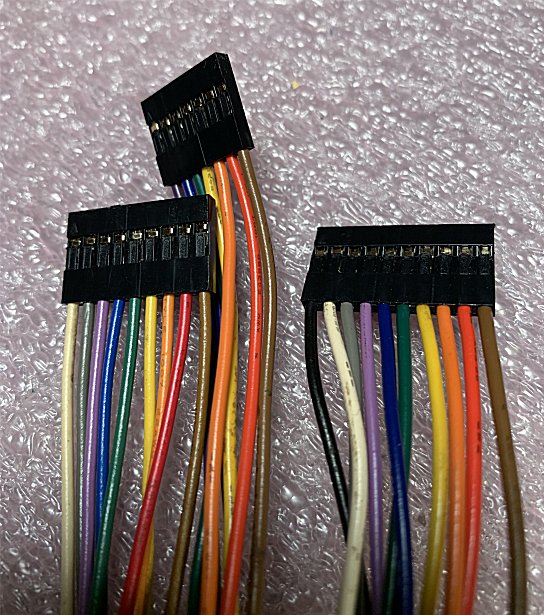 |
After
a
lengthy process the cables were done and ready to be installed!
|
|
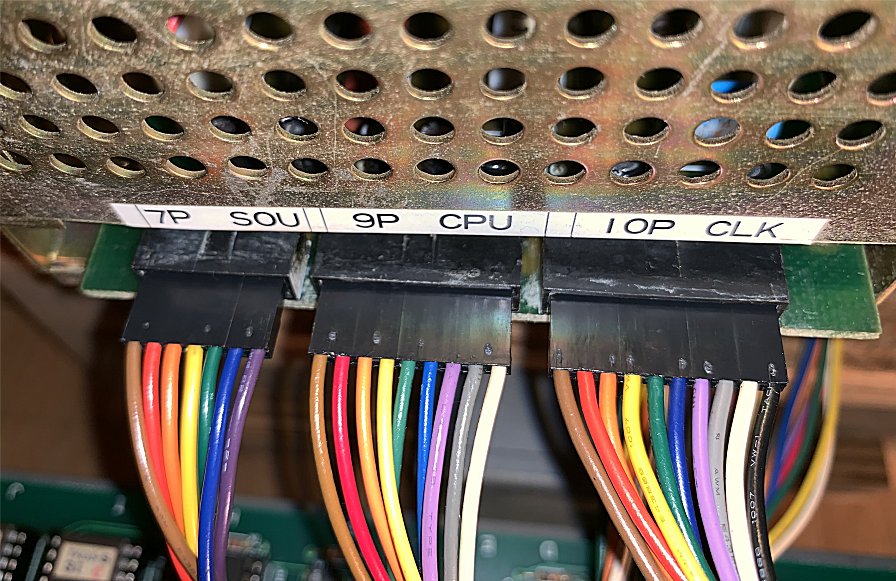
I
carefully connected the cables to the power supply and
prepared for the
initial power up.
|
|
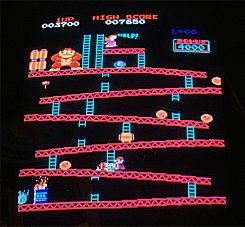
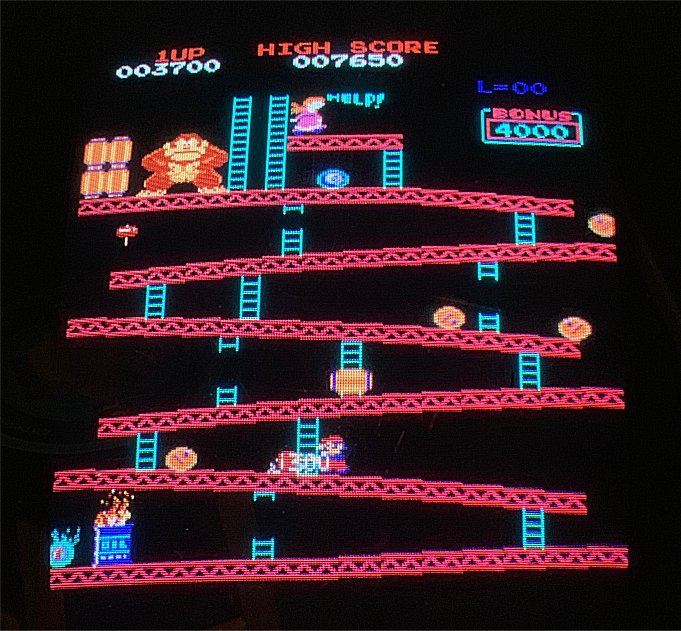
Success! Kong Off here I come!
|


 Donkey
Kong Repair Log
Donkey
Kong Repair Log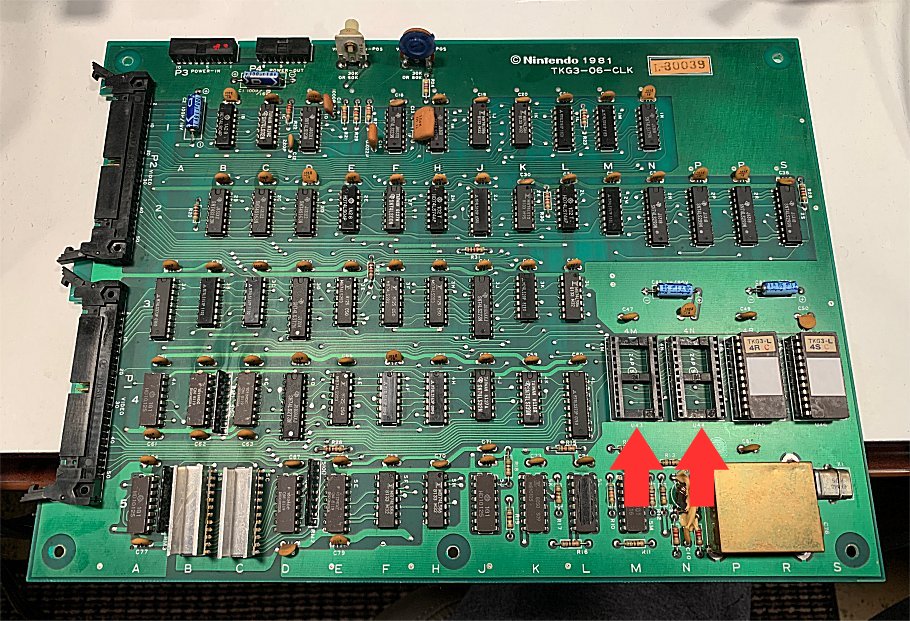