


 Space
Encounters Strobe
Light PCB Repair Log
Space
Encounters Strobe
Light PCB Repair Log|
|
| Space
Encounters Strobe
Light PCB Repair Log |
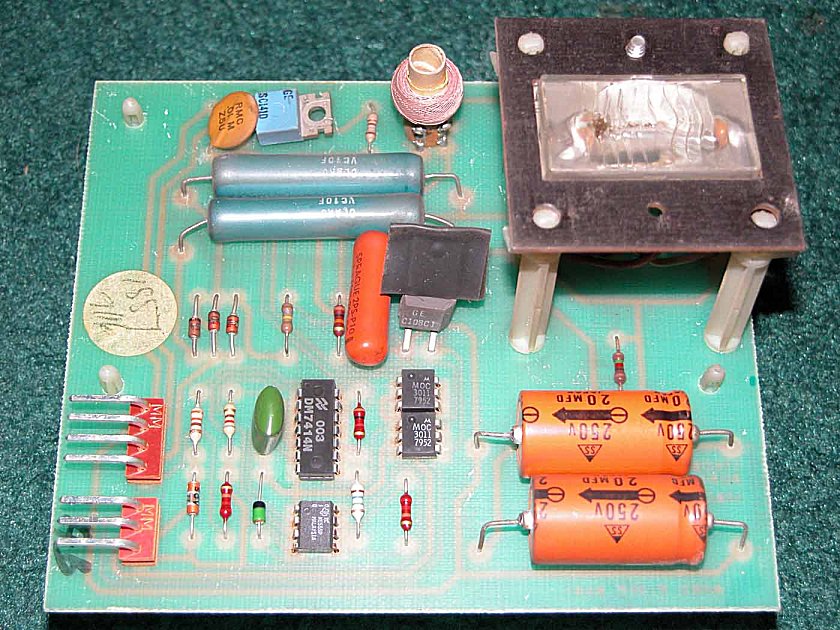 |
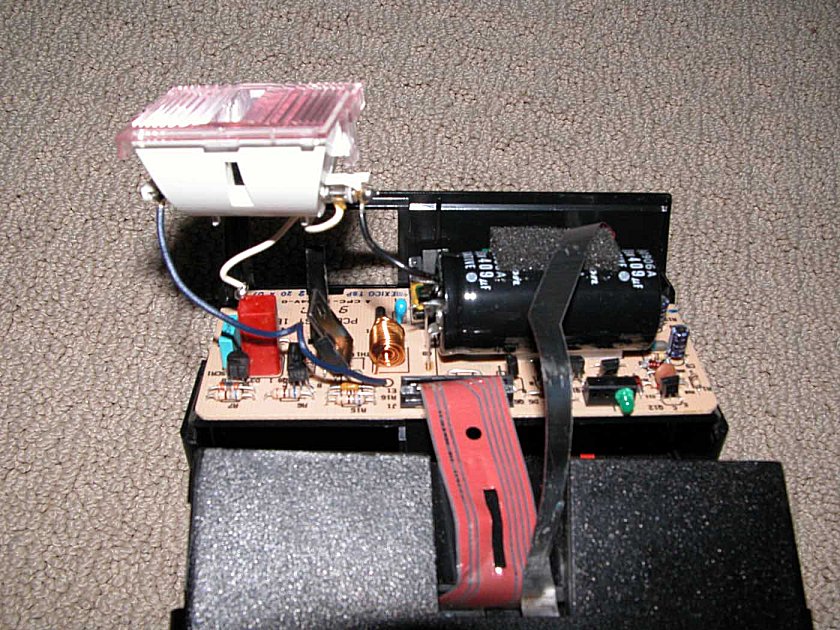
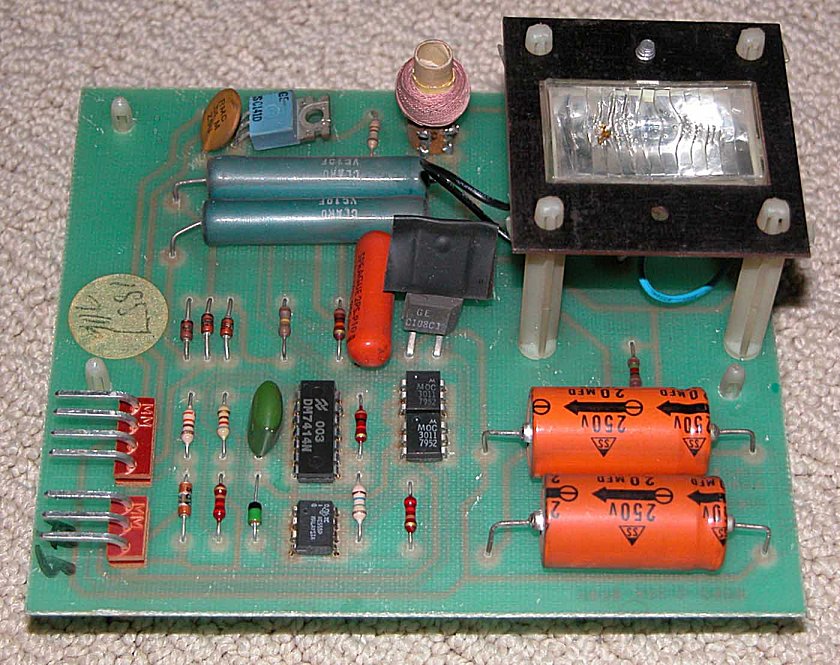
This is the strobe light PCB - DOA. |
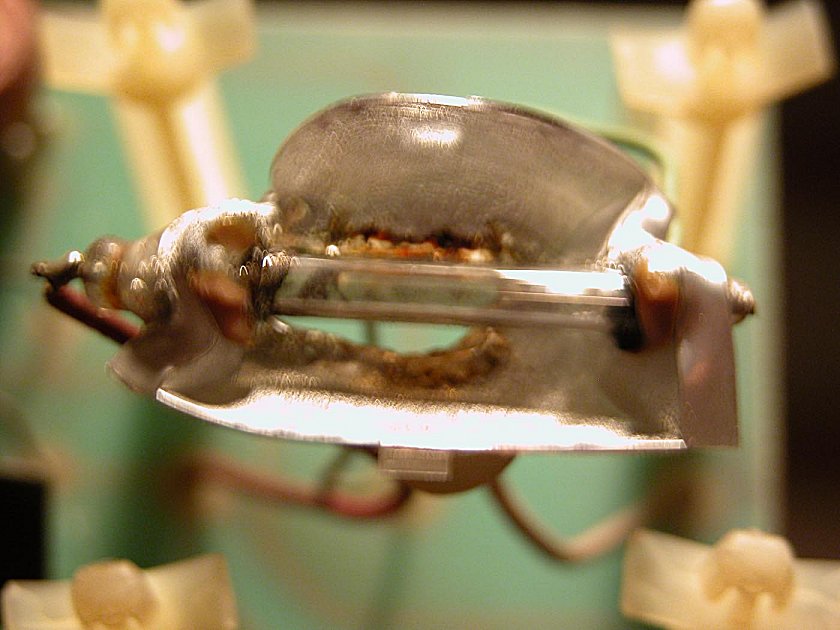 |
The strobe tube and reflector are melted together but the lens was salvageable. This seems to be a very common failure with this game and I’m sure caused many problems for route owners who liked to keep their games in tip top shape. |
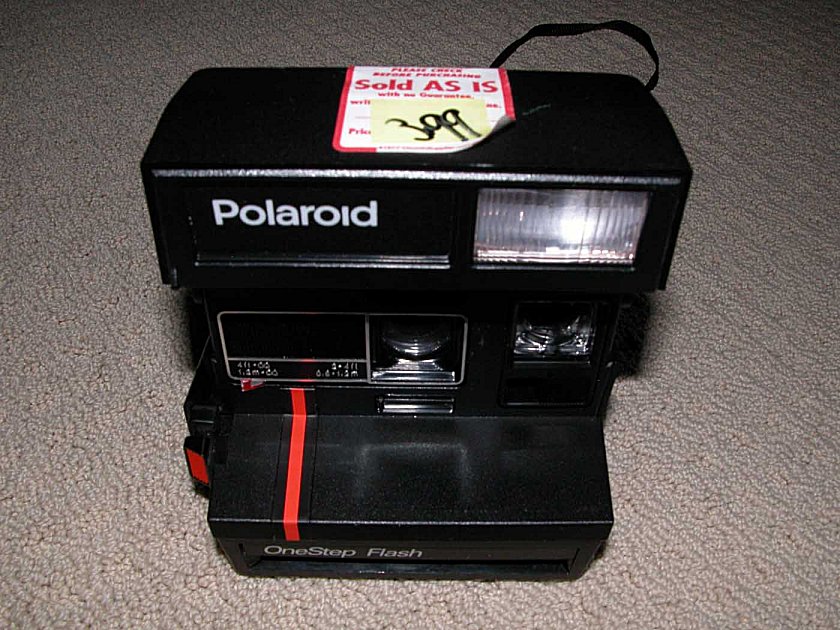 |
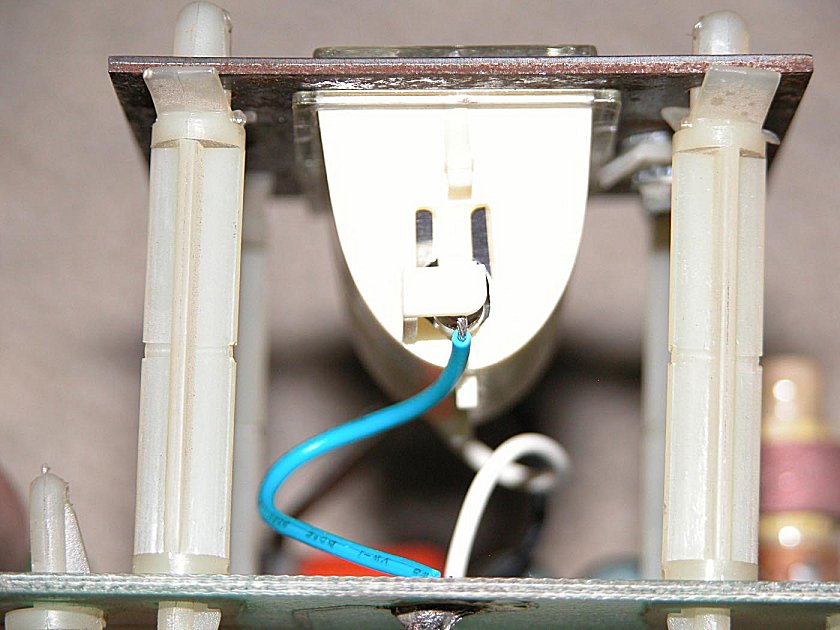
I thought a quick Internet search would allow me to acquire the necessary replacement parts and enable me to get my strobe PCB running...boy was I wrong! I did find the strobe light was a component in Bally's Flash Gordon Pinball machine, however the part was out of stock and has yet to be reproduced. Bummer! I like to keep everything original as possible so hearing this was like running into a brick wall. I still kept searching for a viable replacement and ultimately focused on old cameras. All had strobe lights but nothing near the size I was looking for. Enter the Polaroid camera! |
 |
I actually found one of these cameras in the strangest of places...my own basement! They also can be picked up very cheap (note the price tag) from your local thrift store. The lens looks to be the exact size I have been looking for! Yipeeee! |
 |
|
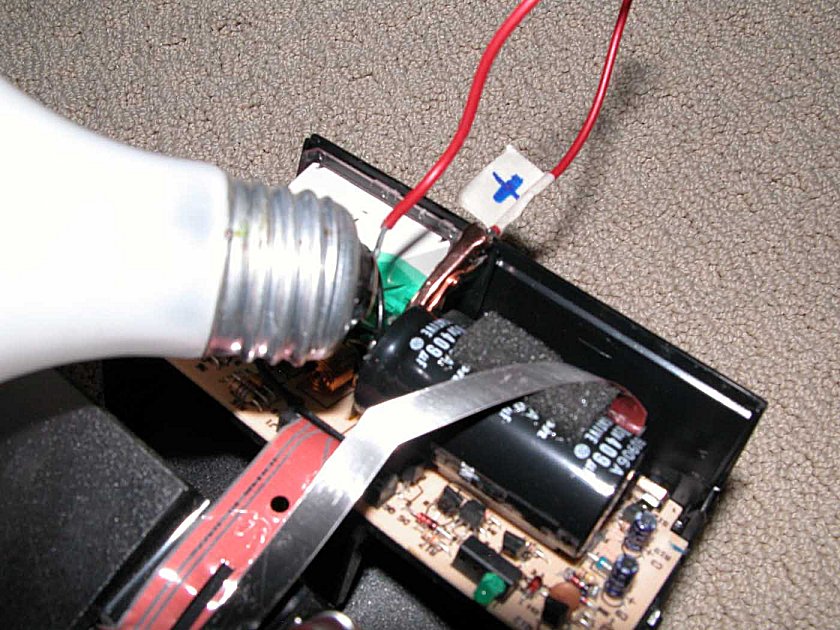 |
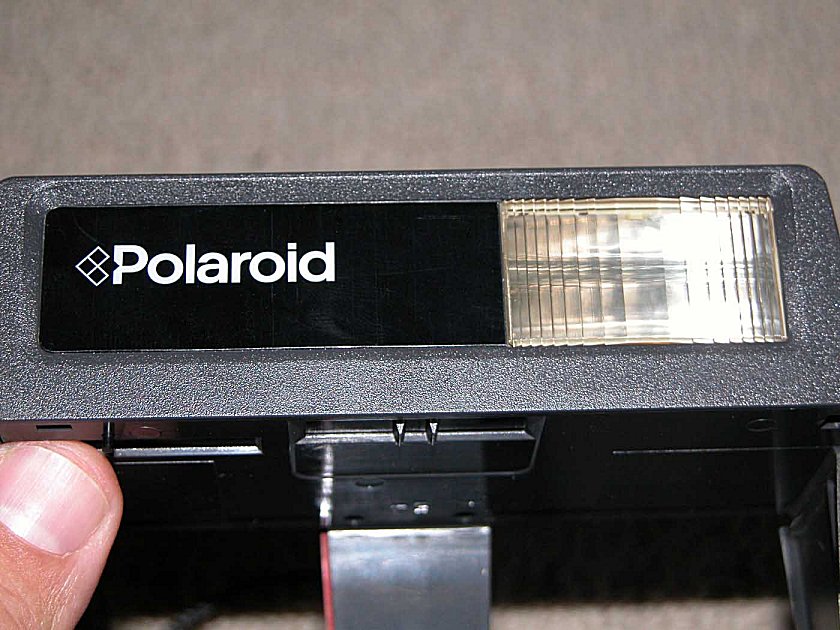
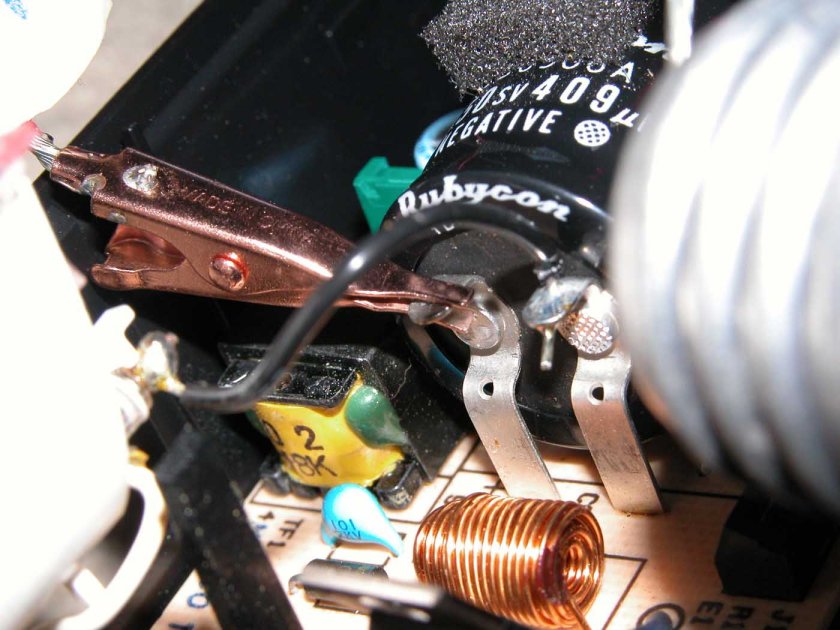
*Caution* If you are unfamiliar with the danger of electronics please consult an expert to help you with this step. Upon opening the flash bar you will immediately notice a large black capacitor staring you right in the face. ALWAYS ALWAYS ALWAYS assume it is fully charged and therefore must be discharged before removing the strobe light assembly. I used the old school bulb discharge method and it worked fine. |
 |
|
 |
|
 |
|
 |
|