


 Tank Repair Log
|
|
| Tank Repair Log |
 |
Tank arrived in the Repair Station completely dead. Since I did not know exactly what was wrong with the game I began by testing the voltage. The voltage appeared fine from the power supply but the PCB was completely dead. A close inspection of the PCB revealed two badly blown traces. |
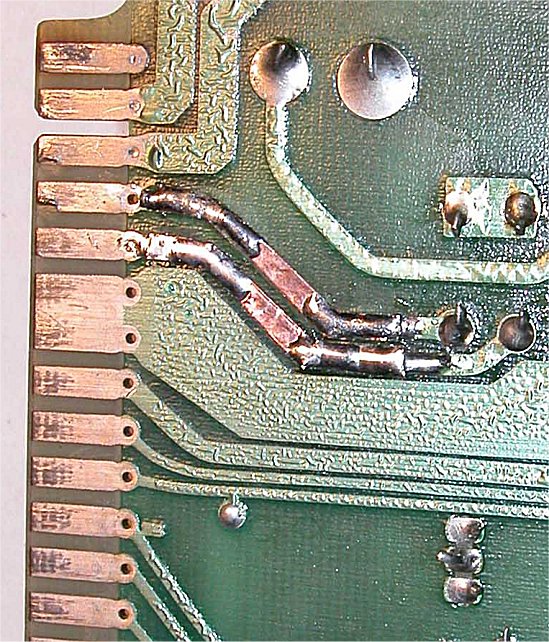 |
I removed the PCB and repaired the traces. I cut away
the burned sections and replaced them with copper tape. I put the PCB
back in the cabinet and again tested the voltage. My digital multimeter
still indicated no voltage on the PCB.
|
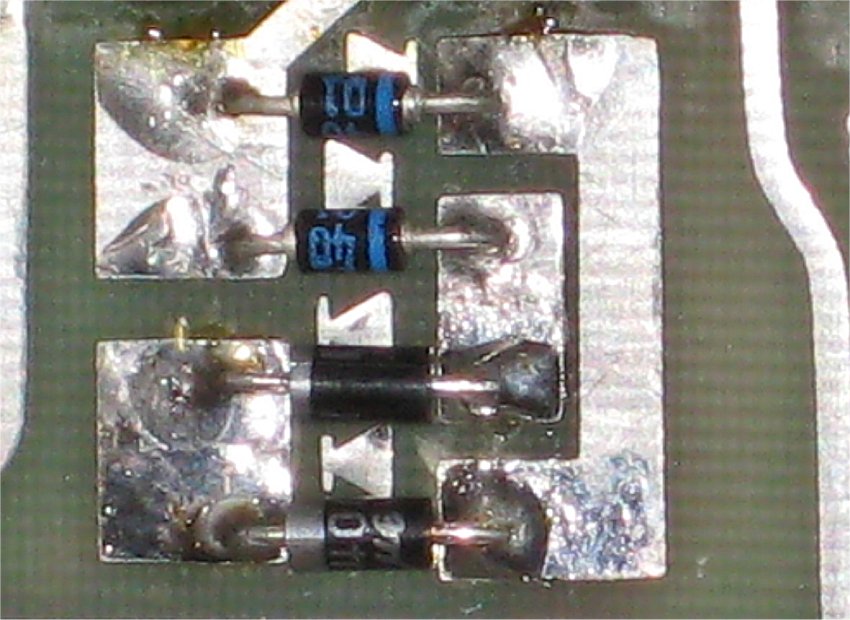 |
After testing various componets, I found two diodes in the bridge rectifier were bad. I replaced the diodes and once again tested the PCB. The PCB now had the proper voltage and I was even getting a scrambled picture! |
 |
I spent some time adjusting the monitor and eventually got a dark but somewhat fuzzy picture. I did a cap kit on the chassis, which slightly improved the picture, but it was still dim. The rest of the game tested fine so I got out my B & K 467 rejuvenator to see if I could make any adjustments to the tube itself. |
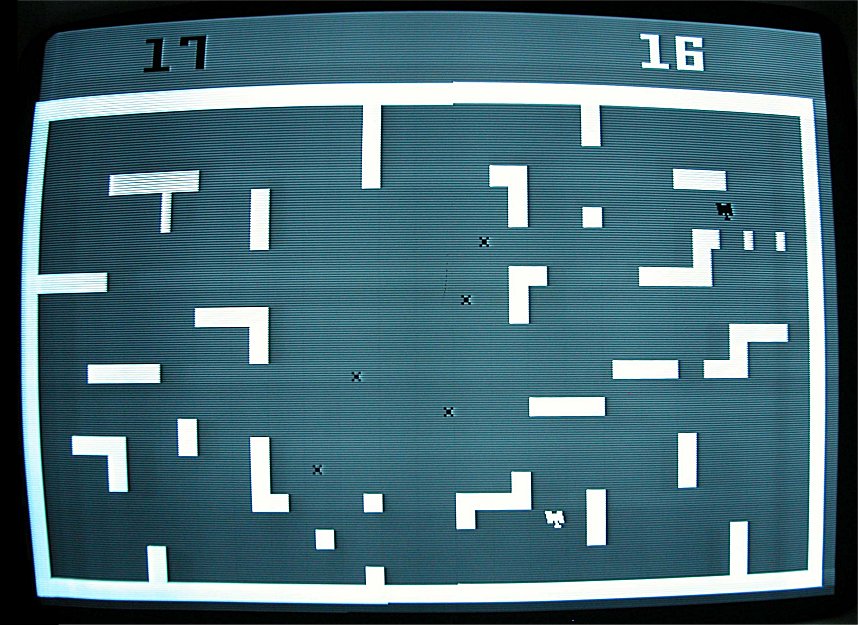 |
The rejuvenator indicated the tube was almost dead! I used it to remove some shorts, balance the guns and rejuvenate the tube. After about 20 minutes of work the picture looked great! The game was completely disassembled and cleaned both inside and out.
|
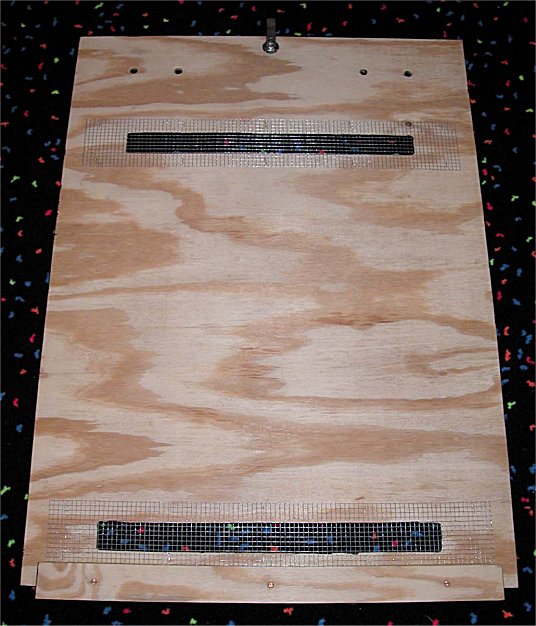 |
Unfortunately, the game was missing the back door so the final step in the restoration was to fabricate a replacement. Luckily, I had access to a Tank back door so I was able to build the new door to the original specifications. The door was made with a piece of 3/4" plywood and painted flat black. sp. . . . ec. I used a 3/4" piece of plywood wood. |
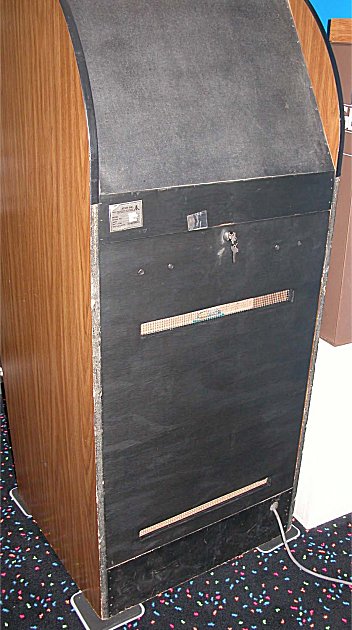 |
The back door fit perfectly and looked good too! Tank was now ready for battle! Tank |